How to collect additional data Shopify Checkout
Jul 28, 2023

In this article, we’re going to show you how to collect additional data for your Shopify orders created from the online store.
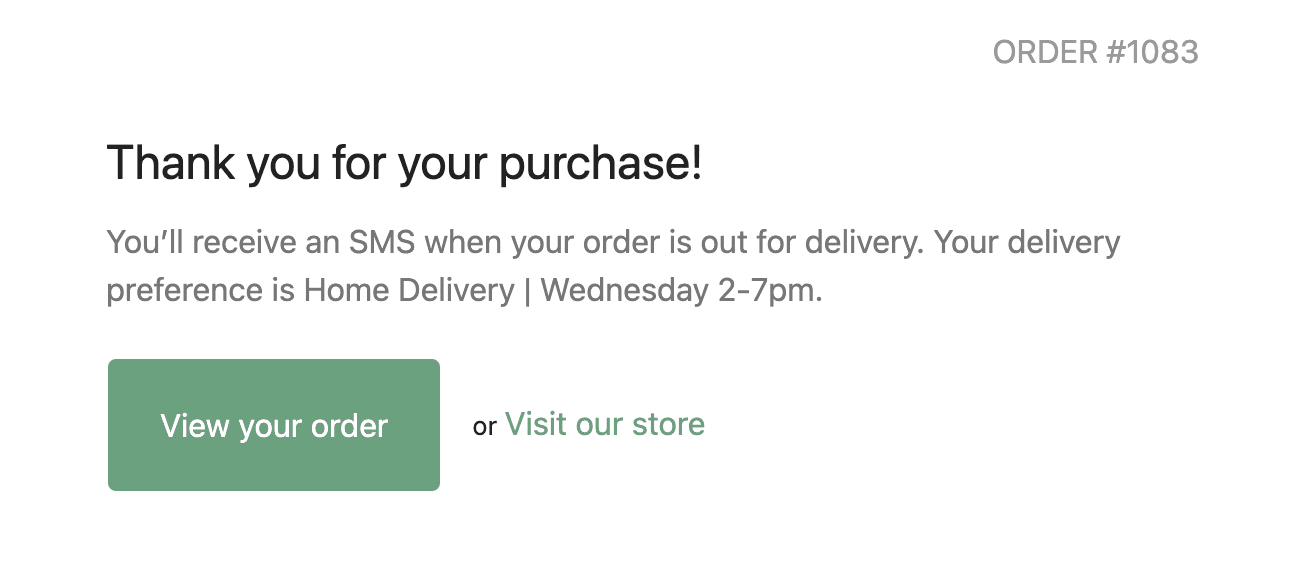
Orders have the ability to store data under custom attributes or metaobjects.
We’re going to focus on custom attributes as it is the easiest solution currently available to all merchants. If you’re currently signed up on Shopify Plus, we recommend you look into Metaobjects, Metafields, and Checkout Extensibility.
If you’re on a regular Shopify plan and you need to collect more details from your buyers at checkout, we’re going to show you how.
First, we need to outline that Shopify’s checkout isn’t customizable unless you’re subscribed to Shopify Plus. Since we’re not able to customize the checkout pages, our next best option is to collect information on the cart page.
If you want to make sure your buyers never skip the cart page, you’ll have to disable the quick checkout button, for example on the product page or slide cart page.
For this example, we have a merchant who needs to collect additional delivery details from their buyers for local delivery. Buyers can choose from a set of delivery schedules.
What does this look like on a live store?
The buyer gets to the checkout page

The buyer selects a value and is able to click
Checkout
Completes checkout, order is created, custom attribute is visible in the admin

Let’s add the necessary code to our main-cart-footer.liquid template.
You can generate an example of the code you need on this free code generator for cart attribute collection.
The code generated will give you a starting point but a simple copy pasta probably won’t work and you’ll have to adjust it to your theme’s syntax.
In our example, we’re using the theme Crave on OS 2.0 and this is what our code looks like.
One important line we had to add from the code generated is the form="cart" in the select opening tag.
Part 2: Disabling the checkout button until a custom attribute is selected
This is only needed if the cart attribute is required for the customer to check out. If it’s optional feel free to skip this part.
Still in main-cart-footer.liquid remove the conditional around disabled in the checkout button element.
This will make the Checkout button disabled by default so be extra careful and text this step before deploying. A mistake could break your buyer’s flow and make it impossible for your customers to checkout.
Now we want to enable the button once a buyer has selected a value in our cart attribute dropdown. Let’s add a bit of JavaScript to help us.
Find the <script> element in main-cart-footer.liquid and add a code block like the following depending on what your selector is.
Part 3: Displaying the attribute in your order confirmation email

Limitation
Packing slips do not have access to order custom attributes at this point so the code you use in your order confirmation email won’t work if you try to customise your packing slip template.